Create dreamy images by painting with light
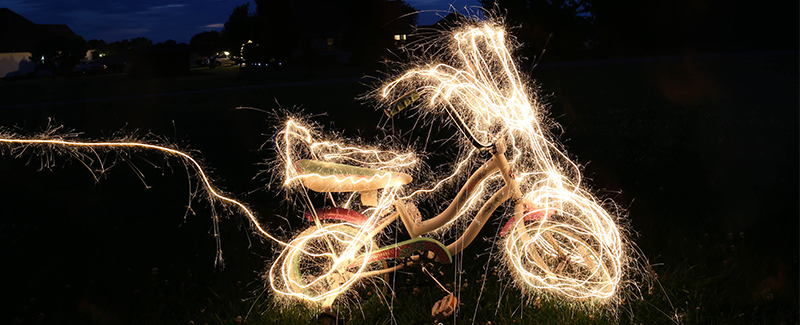
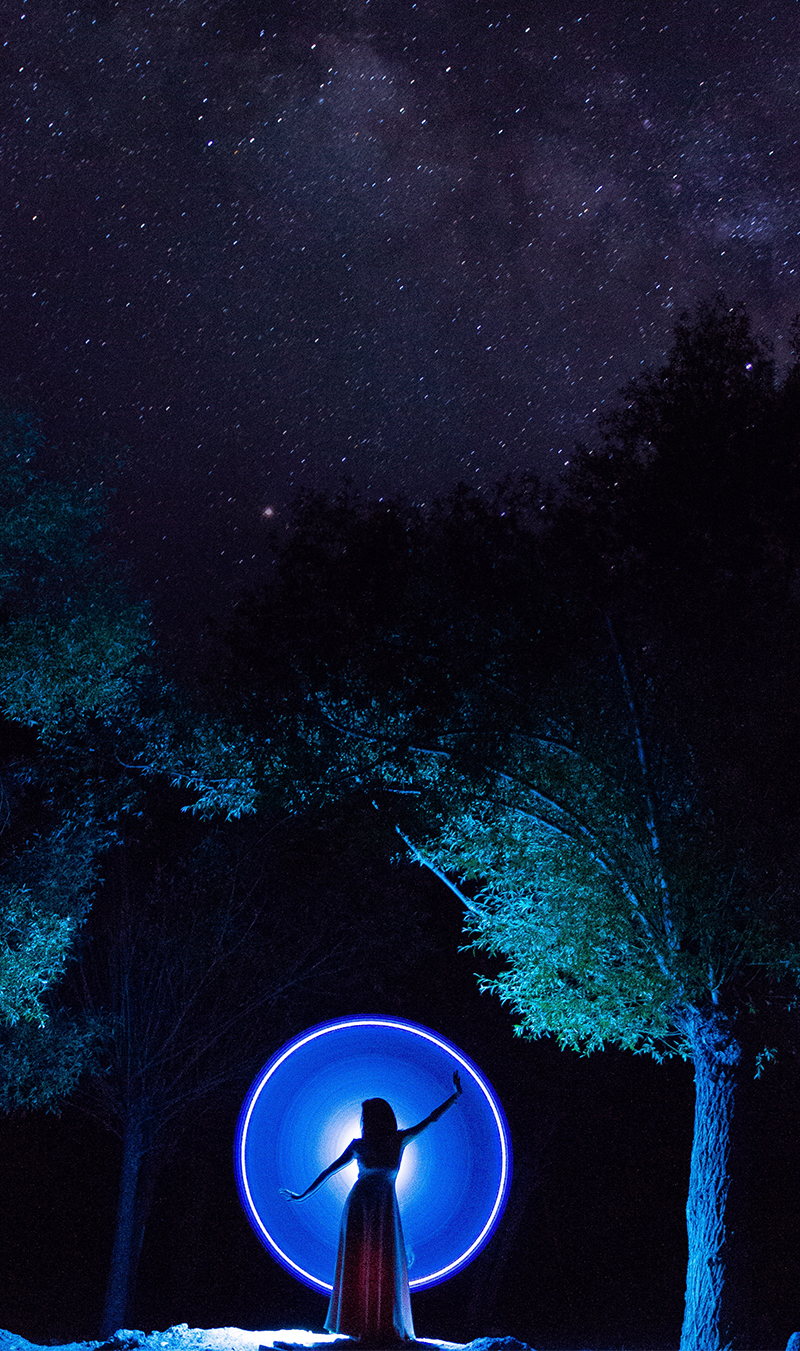
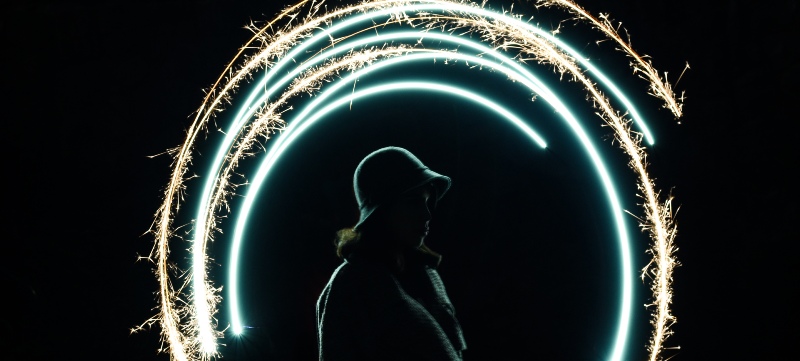
Light painting is also called painting or writing with light. You draw a line, shape or pattern facing the camera with a light source such as a torch or flashlight. By capturing the light trail with a slow shutter speed in a dark environment, you will see the journey the light makes in your photo. This is how you create beautiful, dreamy images with luminous drawings in them. The great thing about light painting techniques is that no two images are the same, and you can let your creativity go crazy! For example, you can choose to write words, accentuate the outline of an object or model, or develop your own light creation. Below we explain what you need for light painting and the best way to go about it.
What do you need? | Lightpainting step by step | General tips

To capture light painting you will, of course, need a camera, but which camera should you use? Most cameras are suitable for capturing painting with light, as long as you have the ability to manually set shutter speed, ISO value and aperture. Most cameras have a manual (M) mode for this purpose.
Tip - Does your camera have ISO noise reduction and slow shutter speed noise reduction options? If so, it's best to turn them off for the best results. Additionally, for post-processing purposes, it is best to shoot your images in RAW format.
We recommend that you work with a tripod when light painting. Working with a slow shutter speed means that your photo will become less sharp with every movement of the camera because of motion blur. To capture the light trail in the sharpest possible image, place your camera on a tripod and turn off the image stabilisation on your lens and camera.
If possible, it’s also a great idea to set the timer for the photo or use a remote control. When you press the button of the camera, the camera will move and therefore create motion blur.
Tip – So you don't have a tripod? Use a wall or other solid surface to rest your camera on. Of course, you can always purchase a tripod. Check out our selection of Tripods here.
When light painting we work with light, but what kind of light source is most suitable? Many light sources are available for creating expressive light creations. For example, you can use glow sticks, laser pens, decorative fireworks, steel wool, smartphones or torches. It doesn't have to be a bright light source to make a successful photo. Use your imagination, try out various light sources and decide which light source best suits the mood of the image you want to capture.
There are also light sources available specifically designed for light painting. With a so-called pixel stick, an elongated bar made up of LED lights, you can draw a pattern in the sky. These kinds of lights often allow you to customize the color and draw pre-programmed figures or add your own pre-made design.
Tip – Looking for more colour? Add coloured foils, bottles and other translucent objects to your light source to personalise it. You can also try attaching your light source to an umbrella or rope to create different shapes. Are you going to work with letters? Then write in mirror image or choose a symmetrical background and mirror your photo in post-processing.

To make the light drawing stand out, it is best to work in a dark environment. Low-light situations can bring a nice mood to your image. Not surprisingly, light painting often goes hand in hand with evening photography, but other times of day can also lend themselves well to writing with light. Photographing during the "blue hour" or the "golden hour", combined with light painting, gives a dreamy effect to your images. When you combine all of this with water, beautiful reflections are created.
Tip - Are you just starting out with light painting? Start shooting in a dark room, so you have full control over environmental factors.
Are you going to add a model to your light painting photo? Then make sure the model remains truly motionless. The slightest movements can cause loss of sharpness at slow shutter speeds. In addition, make sure you expose the model properly. For this you can use a torch or light lamp, or a flash, just be sure to use this light only shortly before the shutter closes. It is also important that the lighting artist is out of the picture when the flash goes off to avoid visibility in the picture. When working with a model, it is advisable to involve more people in your process. It is difficult to have sole control over the light, the model, the camera, and your light creation all at once.
Tip - Don't want the light artist to be seen in the photo? Have the person wear dark clothing and gloves. It may also help to tape the light source from behind so that no light falls on the artist.
What do you need to do to capture light trails?
Since your camera is on a tripod, you can turn off the image stabilisation on your camera and lens.
Set your camera's ISO as low as possible to avoid overexposure and noise. We start with a value of 100. Think about how long you will spend drawing the luminous pattern, and set the shutter speed for this. For example, start with 15 seconds. For the aperture, you can start with a value around f/8, then most of your image will remain sharp. Are you looking for a look and feel with a different depth of field? Then select a large aperture.
Focusing in the dark is often a challenge. Therefore, make sure that you give a light to the person who will be drawing, or that you illuminate the subject yourself with (for example) a torch. Use autofocus to focus on this and then reset your settings to manual. Do you prefer manual focus? Then it can be useful to use the live view function of your camera. When light painting by yourself, use stuff you have with you to focus on the spot where you're about to stand.
Take a test photo and adjust settings as needed.

Shutter speed differs for every effect and drawing. Try out how long it will take for you to draw the figure or word, and set your shutter speed accordingly. We recommend starting with a shutter speed of 15 seconds, test if this works for you and adjust if not. Do take a few extra seconds before and after painting, so you have some slack.
You can work with different lenses in light painting photography, depending on the effect you want to create with them. It is recommended to use a wide-angle lens, because it allows you to include more of your surroundings in your photo. You work in low light conditions in light painting, so pay attention to the maximum aperture of your lens. Often you will work with an aperture of around f/2.8, but in some circumstances, a larger aperture can be an advantage.
Most cameras allow you to set the shutter speed up to 30 seconds. Do you need more time for your creation? Then use the Bulb mode. This involves pressing the shutter button on your camera until you are done painting. Working alone? Then use a remote control.
Don't want to be seen in the picture yourself? Then wear dark clothing and tape the back of your light source. Make sure your camera is not moving. As a light artist, try to stand in the same spot you focused on and make sure your model is stationary. In addition, make sure you leave enough room in the frame so that your light creation doesn't fall just outside the frame if you take a step too far to the side. Afterwards, it is easier to crop your image than to glue a piece to your image.
Read more